
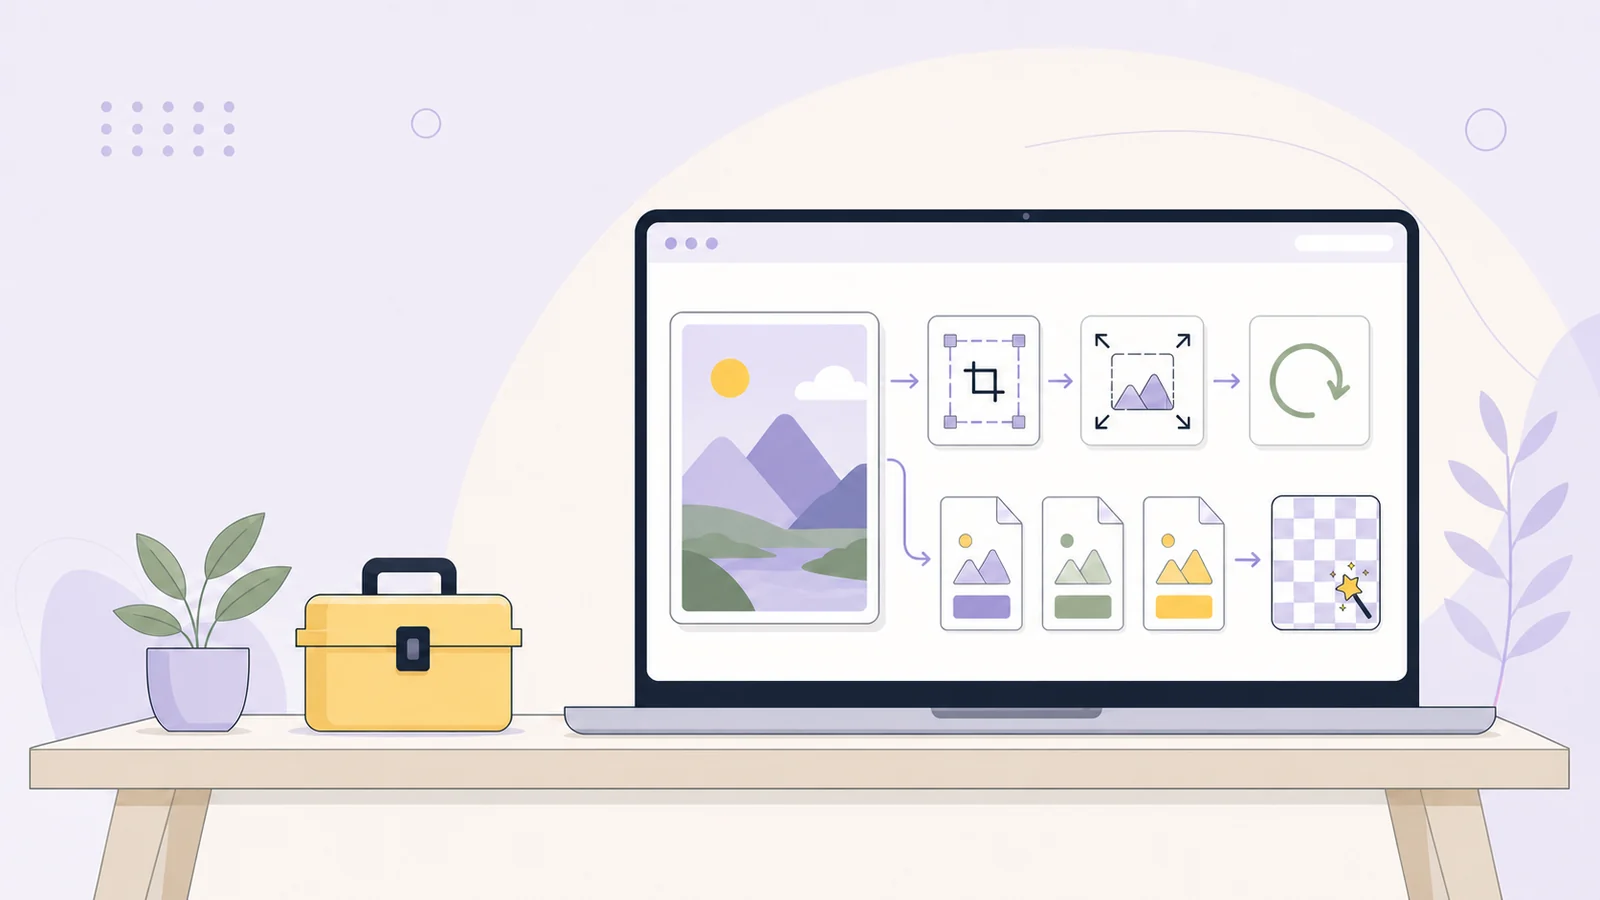
Choosing the Right Image Tool
The best image tool depends on the job you need to finish. Whether you need to compress an image online, resize a photo for social media, convert HEIC to JPG, or create a favicon, a focused workflow is usually easier to manage than a workspace filled with unrelated controls.
TheOnlineToolset’s Image Tools hub brings these free online image tools together in one place. Each page is organized around a specific task, with settings that match the expected output. That makes it easier to move from source image to usable file while keeping the important decisions visible.
What you need to do | Recommended tool | Main result to check |
|---|---|---|
Reduce image file size | File size and visible quality | |
Set exact width and height | Pixel dimensions | |
Prepare a post or story | Target dimensions and crop | |
Change file format | Output format and compatibility | |
Crop unwanted edges | Framing and aspect ratio | |
Fix orientation | Correct direction and mirroring | |
Hide selected areas | Whether the information remains readable | |
Remove a background | Clean edges and transparency | |
Add ownership or branding | Placement, opacity, and legibility | |
Set print-related DPI metadata | DPI metadata; pixel dimensions unchanged | |
Create an icon file | ICO format and selected icon size | |
Make text-based artwork | Character detail and readability |
This focused structure is useful when a general image editor gives you more options than the task requires. The controls stay closer to the outcome: dimensions for resizing, format for conversion, compression settings for file size, or a visible selection area for blurring.
A Practical Image Workflow
Many image projects are easiest when you handle them in a sensible order. The goal is to make one decision at a time and verify the output before moving on.
1. Start with the composition
If the source has unwanted borders or empty space, begin with Crop Image. Cropping changes the framing and can make later resizing more effective because you are working with the part of the image that matters.
For a sideways or mirrored photo, the Rotate and Flip Image page provides the appropriate orientation controls. Check the preview carefully when the image contains text, logos, or directional subjects.
2. Fit the image to its destination
When you know the exact output width and height in pixels, go to Resize Image. This is useful for website slots, application interfaces, document requirements, and any workflow that specifies dimensions directly.
For social content, the Social Media Resizer works as a dedicated photo resizer for common post and story dimensions. Select the intended size, inspect the crop, and make sure the subject is not too close to an edge.
Resizing and cropping solve different problems. Resizing changes the image’s dimensions; cropping removes part of the image. If the aspect ratio does not match the destination, crop the source before resizing to avoid unwanted stretching.
3. Select the output format
When the file type is the main concern, the Convert Image page acts as a practical photo converter for supported image formats. It can help with workflows involving JPG, PNG, WEBP, AVIF, HEIC, and other available formats.
A conversion-specific task such as HEIC to JPG is useful when a device-created image needs to work in a more widely supported workflow. The converter creates a new output, so keep the original until the result has been checked.
4. Optimize the final file
Once the image has the right composition, dimensions, and format, open Compress Image. Compression is often the final optimization step because changing the format or dimensions afterward can alter the file size again.
Download the result with a new filename and keep the source image until you have checked the final file. If the compressed image looks too soft, you can return to the original rather than repeatedly recompressing the same output.
Format Choices: PNG, JPG, WEBP, and AVIF
The right format depends on the image content and where the file will be used.
JPG or JPEG
JPG is commonly used for photographs and images with many colors. It can produce a compact file, but stronger compression may create visible artifacts around text, fine detail, and sharp edges.
Choose JPG when broad compatibility and a smaller photographic file matter more than preserving transparency.
PNG
PNG is useful for graphics, screenshots, logos, and images that need transparency or crisp edges. It is often appropriate for cutouts created with Remove Background, where the transparent background needs to remain intact.
PNG is not automatically the smallest choice for every photograph. If the image is photographic and does not require transparency, compare the result with another suitable format.
WEBP
WEBP is a practical option for many web images because it can balance file size and visual quality. Check that the destination website, application, or publishing workflow accepts WEBP before using it.
AVIF
AVIF may be useful when the destination supports it and delivered image size is a priority. Compatibility still matters, so confirm that the receiving system handles AVIF correctly.
Transparency matters
Converting a transparent image to a format or setting that does not preserve transparency can add a solid background. When transparency is important, inspect the result against both a light and dark background.
Quality and File-Size Checks
A successful conversion is not only about whether the file downloads. Check the output against the purpose it needs to serve.
Confirm the dimensions
Open the downloaded image properties or inspect it in the destination application. Confirm that the width and height match the requested pixels. This matters after resizing, social preparation, cropping, and background removal.
Confirm the format
Check the file extension and, when possible, the actual file type reported by your operating system or image viewer. Renaming an extension does not convert a file; use Convert Image for a real format change.
Check transparency
If you removed a background or prepared a logo, look for a transparent result rather than a white or colored replacement. PNG is commonly used when transparency must be retained.
Compare visible quality
View the output at a useful size. Look for blurred text, blocky edges, halos around a cutout, banding in gradients, or loss of small details. A smaller file is only better when it still meets the visual requirement.
Check the file size
Compare the original and output sizes after compression. If the reduction is not enough, consider whether the image is oversized in pixels, whether another format is appropriate, or whether the quality setting needs adjustment.
Avoid repeatedly compressing an already compressed JPG. When possible, return to the original source and create a fresh optimized output.
Specialist Image Tasks
Some image jobs need more specific controls than standard resizing or conversion.
Change image DPI online
The Image DPI Changer is intended for workflows that require particular DPI metadata for print or publishing. DPI describes how pixel data is interpreted for physical output; changing DPI metadata does not automatically add detail or improve the source image.
Before exporting, confirm whether the receiving application cares about DPI metadata, pixel dimensions, or both. If it specifies pixel dimensions, combine the DPI workflow with Resize Image when appropriate.
Create an ICO file
Image to ICO creates an ICO file from a source image at one selected icon size. This is useful for favicon and application-icon workflows where the destination expects ICO rather than a standard JPG or PNG.
Choose a simple, recognizable source image and inspect the selected size. Fine details that look clear in a large image may become difficult to recognize when displayed as a small icon.
Convert an image to ASCII art
Image to ASCII turns a picture into character-based artwork. Its controls let you adjust columns, character density, color mode, and scale. Higher column counts and denser character sets can preserve more visual detail, while simpler settings may be easier to read in plain text.
The tool can produce ASCII text for copying or saving, as well as a rendered image output. High-contrast subjects and uncluttered compositions generally translate more clearly than busy photographs.
Blur sensitive information
Blur Image lets you select areas such as faces, screens, or background details that should not be immediately visible. Zoom in and inspect the result at the size a viewer will actually see.
Blur is not the same as guaranteed redaction. If information is highly sensitive, consider covering it completely and verify that it cannot be read from the exported file, metadata, an alternate crop, or the original source.
Add a watermark
With Watermark Image, you can add text or a logo and adjust placement and opacity. Keep the mark visible enough to serve its purpose without making the image difficult to use.
Check the corners and edges after resizing. A watermark that works on a large source may dominate a smaller output.
Common Mistakes and Troubleshooting
The image looks stretched
The width and height may have been changed independently. Return to Resize Image, preserve the intended aspect ratio when possible, or crop the source first if the destination requires a different shape.
The output is still too large
Check both pixel dimensions and format. A very large image may remain large even after moderate compression. Resize it to the dimensions actually required, then compress the result. Also confirm that you downloaded the processed file rather than the original.
Transparency disappeared
The selected output format or conversion settings may not preserve an alpha channel. Try a transparency-friendly format such as PNG and inspect the output against a contrasting background.
The cutout has rough edges
Background removal works best when the subject and background are visually distinct, but every source has different edges and detail. Inspect hair, thin objects, shadows, and semi-transparent areas at a larger zoom. Crop or resize only after confirming that the cutout is acceptable.
Text became unreadable
Compression, resizing, or ASCII conversion can reduce fine detail. Start with a higher-quality source, avoid unnecessary repeated exports, and choose dimensions that give text enough pixels. For ASCII art, increase the column count or select a denser character set.
The file does not open in the destination
The destination may not support the selected format, or the workflow may require a particular file type such as ICO. Convert the file to the format the receiving application expects and check the extension, dimensions, and transparency again.
A sensitive image needs special handling
Image processing differs by tool. Some workflows are browser-based, while others use upload processing. Do not assume that every image tool handles files locally or that every workflow has the same retention behavior.
For sensitive files, read the processing and privacy information shown by the specific tool before uploading, and avoid retaining the original longer than necessary.
FAQ
What are online image tools used for?
Online image tools help with focused jobs such as resizing, cropping, compression, format conversion, background removal, blurring, watermarking, DPI metadata, icon creation, and ASCII art. The right choice depends on the output you need.
How do I reduce image file size online?
First check whether the image is larger in pixels than necessary. Resize it if needed, choose a suitable output format with Convert Image, and then open Compress Image. Compare the final file size and visible quality before publishing it.
How do I resize an image to exact pixels?
Open Resize Image, enter the target width and height, select the appropriate quality and output format, and inspect the downloaded file’s dimensions. If the source ratio does not match, crop it first to avoid unwanted stretching.
How do I resize an image for social media?
Go to Social Media Resizer, choose the relevant post or story dimensions, and inspect the preview for cropping. Keep the main subject, text, and branding inside the visible area.
How do I convert HEIC to JPG online?
Open Convert Image, provide the HEIC source, select JPG as the output, and download the converted file. Check the resulting dimensions, image quality, and whether any transparency or color differences matter for your use.
What is the difference between DPI and image dimensions?
Image dimensions are the number of pixels in the file. DPI is metadata used to describe how those pixels relate to physical output. Changing DPI alone does not create more image detail; use a resize workflow when the pixel dimensions must change.
Can I remove a background and keep it transparent?
Remove Background provides a PNG workflow intended to preserve a transparent background. Inspect the edges and place the result over a contrasting background before using it.
Can I browse all image tools in one place?
Yes. Visit the Image Tools hub to browse the complete collection and choose the focused tool that matches your next image task.