
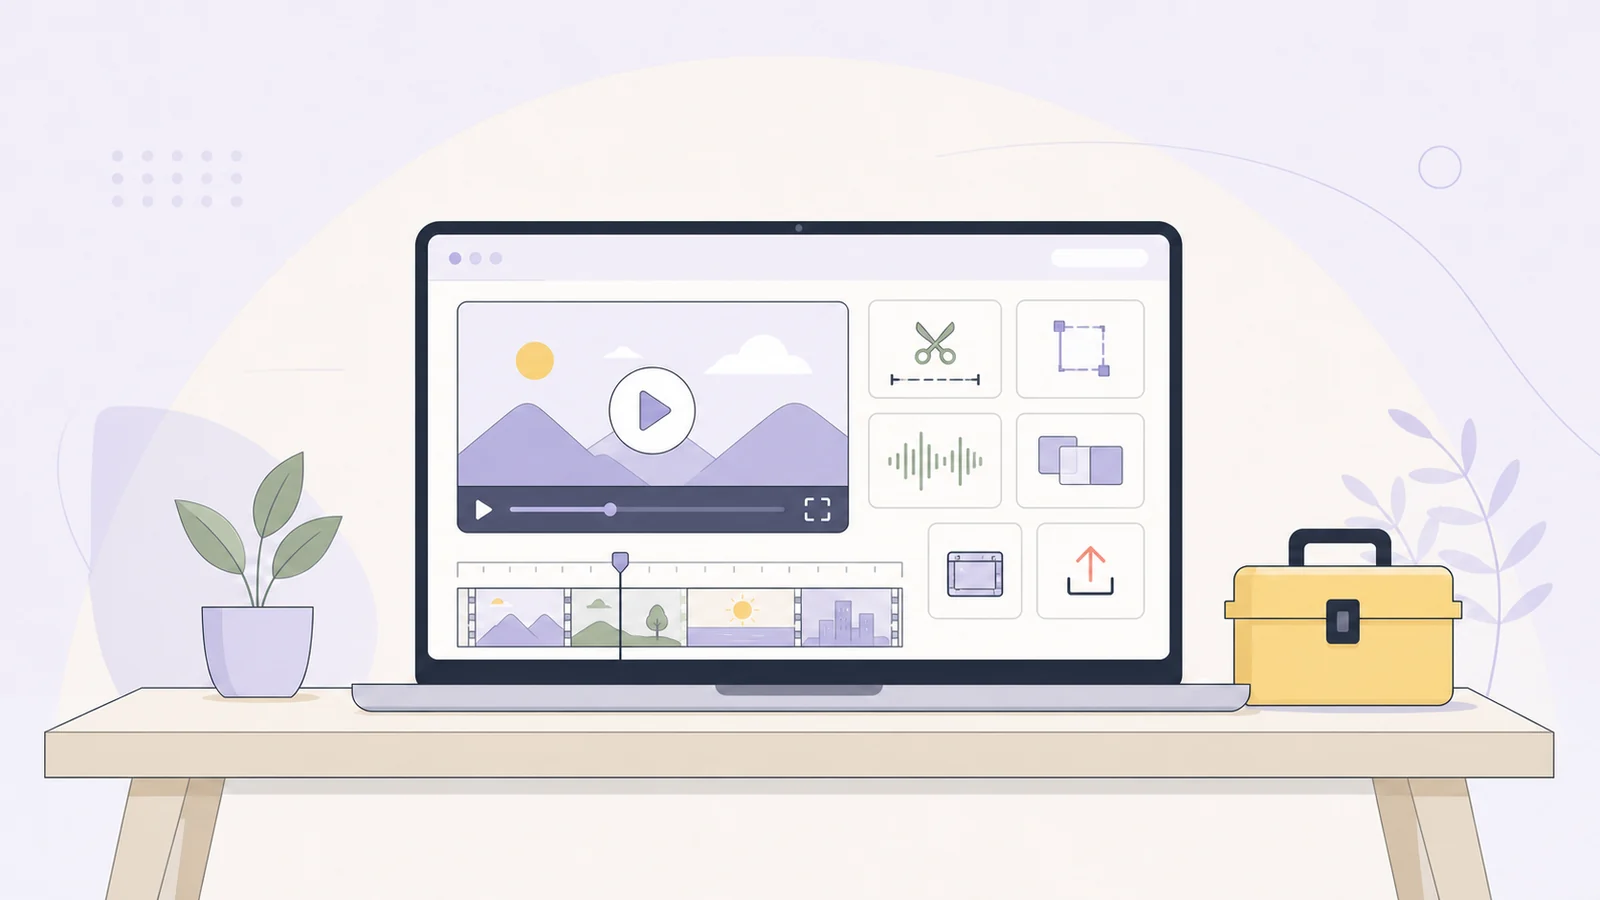
Video tools are applications or services built to handle one part of a video workflow: recording, editing, improving audio, adding captions, changing formats, reducing file size, or preparing a finished clip for sharing. You usually do not need one complicated program for every job. Start by identifying the task, then choose a tool that matches your skill level, device, privacy needs, and destination.
A beginner-friendly workflow looks like this: plan the video, record or collect your clips, organize them on a timeline, improve the audio, add captions, export in a suitable format, then prepare the result for sharing. This guide explains the main types of video tools and the decisions that matter most.
What counts as a video tool?
“Video tool” is a broad category. It includes focused utilities that solve one problem and full editors that combine many features.
A screen recorder captures your monitor, a selected window, your microphone, or a camera feed. It is useful for a software walkthrough, training lesson, support video, or product demonstration.
A video editor lets you arrange clips, cut unwanted sections, add transitions, place text on screen, and adjust the overall structure. Editors commonly use a timeline: a visual row where video, audio, titles, and effects are placed in sequence.
Audio tools focus on spoken narration, music, and sound effects. They can help you remove unwanted sections, balance volume, reduce noise, or replace a temporary recording with a cleaner voice track.
Animation and motion-graphics tools create movement that may not come from a camera. They are useful for an explainer, logo animation, title sequence, diagram, or animated social post. Many use keyframes, which are markers that tell an object where it should be at specific moments. The software creates the movement between those markers.
Converters, compressors, and resizing tools are more focused. A converter changes the file’s format. A compressor reduces the file size, usually by making carefully chosen quality tradeoffs. A resize tool changes the dimensions or shape of the video frame.
Delivery settings prepare a finished video for a website, course platform, messaging app, social network, or internal knowledge base. The right result is not always the smallest file or the highest resolution. It is the file that plays correctly, looks clear enough, and fits the destination.
Video tool categories by task
Choose a tool based on the job you need to complete, not on the longest feature list.
Your task | Tool category | What to look for |
|---|---|---|
Record a walkthrough or lesson | Screen recorder or camera recorder | Microphone controls, webcam options, and a usable file format |
Remove mistakes or assemble clips | Video editor | Timeline, trimming, clip ordering, transitions, and preview |
Improve speech or add music | Audio tool or editor | Volume controls, noise handling, and separate audio tracks |
Add spoken text for viewers | Caption or subtitle tool | Editable timing, readable styling, and export options |
Change file type | Video format converter | Input and output format support, playback compatibility, and quality controls |
Make a file easier to upload | Video compressor | Resolution choices, compression profiles, and a clear output format |
Fit a platform’s frame | Video resizer | Aspect-ratio presets, fit or fill behavior, and crop controls |
Add diagrams or animated titles | Animation or motion-graphics tool | Templates, layers, keyframes, and control over timing |
Because video tools span capture through delivery, this guide focuses on transferable task-selection and workflow decisions instead of ranking one product as the universal best.
A practical example: someone making a five-minute product demo might use a screen recorder to capture the interface, an editor to remove pauses, an audio tool to clean the narration, captions for accessibility, a resizer for a vertical social version, and a compressor before uploading.
A beginner workflow from idea to export
1. Plan the message before recording
Start with a short outline or storyboard. A storyboard is a sequence of notes or rough frames showing what the viewer should see and hear. It does not need to be artistic. For a tutorial, write down the goal, the steps, and the result the viewer should reach.
Separate the main explanation from supporting footage:
A-roll is the primary content, such as a presenter speaking or a voice explaining a process.
B-roll is supporting footage, such as a close-up, product shot, screen capture, or illustrative clip.
Planning these roles prevents a common beginner problem: recording a long take and hoping the structure will appear during editing.
2. Record or collect your source clips
Use the highest practical quality your device and storage allow, but do not record blindly at extreme settings. A clean, well-lit 1080p clip with clear speech is often more useful than a poorly lit 4K recording with distracting background noise.
Before a longer recording, make a short sample. Confirm that the microphone captures the intended voice, the important part of the screen or scene is visible, private notifications are hidden, and the file opens correctly.
Keep original footage until the final version is approved. If possible, maintain a second copy in a separate location. A project file, source clips, narration, captions, and music may be impossible to recreate after accidental deletion.
3. Organize clips on a timeline
Import the clips and place them on the timeline in a logical order. Watch the first pass without trying to perfect every cut. Mark sections that are essential, sections that can be shortened, and sections that should be removed.
For a screen-recorded walkthrough, remove long pauses, repeated clicks, and loading screens. For a product demo, keep enough B-roll to show the feature while the narration explains it. Use transitions sparingly; a clean cut is usually easier to follow than an effect between every clip.
If you need to combine compatible clips into one file, merge videos online can join them in the selected order. The public merge tool accepts at least two video files and exports one MP4. Matching MP4, H.264, and AAC-compatible streams can use a fast stream-copy path. When streams do not match, the tool uses a normalized fallback automatically, so manual normalization is not required for every group of clips.
4. Improve audio and add captions
Viewers may tolerate an ordinary camera image, but unclear speech quickly becomes frustrating. Listen with headphones and check for background noise, sudden volume changes, clipped words, and music that competes with narration.
Captions and subtitles are related but not identical. Captions generally include spoken dialogue and meaningful sound information, such as “[door closes]” or “[music fades].” Subtitles usually focus on dialogue transcription or translation. In either case, review the result manually.
Caption tools can mishear names, numbers, technical terms, and words spoken over background noise. Check spelling, punctuation, timing, line breaks, contrast, and whether captions cover important interface controls. Captions improve accessibility for people who are deaf or hard of hearing and for viewers watching without sound. Automatic transcription should not be treated as final quality control.
5. Choose an export format and preset
Export settings control how the finished video is packaged and encoded. Three terms are especially important:
A container is the file wrapper, such as MP4, MOV, or WEBM. It can hold video, audio, captions, and metadata.
A codec is the method used to encode and decode the video inside that container. The same container can sometimes hold different codecs.
An export preset is a group of settings designed for a general destination, such as web playback, a presentation, or a social post.
MP4 is often a practical starting point when broad playback compatibility matters. WEBM can be useful for some web workflows, but the receiving platform must support it. A video converter can change the container or re-encode the content, but conversion cannot repair footage that was already recorded out of focus or heavily compressed.
Resolution describes the number of pixels in each frame. Frame rate describes how many frames appear per second. Bitrate describes how much data is used to represent the video over time. Higher values can preserve more detail, but they also create larger files. Increasing resolution does not automatically create new detail; exporting a blurry low-resolution source at a larger size usually produces a larger blurry file.
Choose an aspect ratio based on the destination. A landscape video may use 16:9, a vertical social post may use 9:16, and a square post uses 1:1. If the source and destination shapes differ, you generally need to fit the entire frame with padding, fill the frame by cropping edges, or stretch the image and risk distortion.
6. Compress, prepare, and share
When a file is too large for an upload or message, compress video online can create a smaller MP4 or WEBM. The public compressor provides balanced and intense profiles, along with target-width options of 480, 720, 1080, 1440, and 2160 pixels.
Start with the balanced profile when visual quality matters. Use the intense profile when the file-size limit is more important and some quality loss is acceptable. A smaller target width can also reduce the file size, but it may make text or interface details harder to read.
For a format problem, use a video converter to select a compatible output. For a platform frame problem, resize the video and choose whether to fit, fill, or stretch the frame. These operations are different: converting changes how the file is encoded or packaged, compressing changes the data budget, and resizing changes the frame dimensions.
A final playback check should cover the beginning, a section with speech, a section with motion, the captions, and the ending. If possible, view the result on the type of device and connection your audience is likely to use.
How to choose the right video tool
The best choice depends on more than features.
Match the tool to your skill. If you only need to change a format or reduce a file size, a focused utility may be easier than a full editor. If you need layered audio, titles, animation, and precise timing, use an editor with a timeline.
Consider your device. Browser-based tools can be convenient when you work across devices, while desktop applications may offer more control for long or complex projects. Check whether your device can preview and export the source without running out of storage or becoming unstable.
Think about the destination first. A course lesson, website embed, messaging attachment, and vertical social post may need different dimensions, duration, captions, and file sizes. Start with the destination’s requirements, then work backward to your export settings.
Review privacy before uploading. A recording may contain customer data, private conversations, unreleased designs, or personal information. Read the service’s current privacy and retention information before sending sensitive material to an online tool. Blur or remove confidential details where possible.
Check licensing and permissions. Make sure you have permission to use music, stock footage, logos, photographs, fonts, and screen content. A video can be technically polished and still create a copyright problem.
Plan for collaboration and backups. For a team project, decide where source files, project files, approved exports, and captions will live. Use clear filenames and versions such as demo-v03-captions-reviewed.mp4. Do not overwrite the only copy of a source recording.
Common video problems and practical fixes
Why is my exported video blurry?
The export may use a lower resolution or bitrate than the source, or the platform may compress it again after upload. Compare the source and export at the same viewing size. If the source is already soft, exporting at a larger resolution will not restore missing detail. Try a higher-quality preset and avoid repeated re-encoding.
Why does the video have black bars or cropped edges?
The source and target aspect ratios do not match. Fit mode preserves the complete frame but may add padding. Fill mode removes padding by cropping part of the image. Stretch mode fills the target exactly but can make people or objects look distorted.
Why is there no sound?
Check whether the source actually contains an audio track and whether the player is muted. If the source plays correctly but the export does not, review the audio codec and export settings. A destination platform may also mute a track because of licensing or content rules.
Why can’t I merge these videos?
Clips with different dimensions, frame rates, codecs, orientations, or audio layouts may not combine through the fastest path. The public merge tool can use stream copy for matching MP4/H.264/AAC-compatible clips and a normalized fallback for mismatched streams. You do not need to manually normalize every clip before trying the merge.
Why are my captions inaccurate?
Automatic captions can misinterpret accents, names, numbers, overlapping speakers, and technical words. Review the transcript against the audio, then correct timing and line length as well as spelling.
Does zipping a video reduce quality?
No. ZIP is lossless packaging: it groups and compresses files without intentionally changing the video data. It may reduce the file slightly if there is useful repeated data, but many already-compressed videos shrink very little.
Video compression uses encoding decisions that can reduce file size more substantially, sometimes with a visible quality tradeoff.
Why is the video file still large?
Duration, resolution, frame rate, bitrate, audio, and visual complexity all affect size. A short high-resolution recording can be larger than a longer low-motion clip. Reduce the dimensions or use a stronger compression profile if the destination allows it, then check that text, faces, and movement remain clear.
Why did an upload or download fail?
Check the connection, available storage, file name, browser state, and destination size limit. Try a shorter export to determine whether the issue is the file or the transfer. For sensitive footage, also confirm where temporary copies may remain before retrying.
FAQs
What are video tools used for?
They help you capture, edit, organize, enhance, convert, compress, resize, caption, animate, and deliver video. Most people use several focused tools across one workflow rather than one tool for every task.
Which video format should a beginner use?
MP4 is often a sensible starting point when compatibility is the priority, but the correct choice depends on the destination and the codecs it accepts. Check the receiving platform before exporting.
Do I need a full video editor?
Not always. A full editor is useful when you need to change timing, combine layers, add titles, or mix audio. A focused converter, compressor, merger, or resizer is usually faster for a single technical task.
What should I know before resizing a video?
The public resize tool exports MP4 and requires even width and height values. Fit preserves the full image by adding padding and requires an opaque background color such as #000000. Fill preserves the aspect ratio while cropping the edges to cover the target frame. Stretch fills the target exactly but can distort the image.
Can a video tool improve poor-quality footage?
It can sometimes reduce noise, adjust brightness, or make a file easier to use, but it cannot reliably recreate detail that was never captured. Good lighting, stable framing, and clear audio at recording time remain the strongest safeguards.
Should I keep the original video after exporting?
Yes. Keep the original footage and project files until the final version is approved and stored safely. You may need them to correct captions, create a different aspect ratio, or export a new format later.
Start with the task, confirm the destination, and choose a focused tool that fits the job. A clear workflow usually matters more than collecting the largest possible set of features. Browse the Video Tools library when you are ready to choose the next step.